Boy, did spring break go by fast ! If you celebrate Easter, I hope you had a wonderful weekend full of family, candy, and eggs.
I'd like to make a quick post about some coasters that I made. This is a fairly popular project around the internet and it is easy to do. Last year I made a bunch of these as Christmas gifts but now I'd like some for our house to use outside when we entertain.
Materials:
Cut your scrapbook paper into 4 X 4 inch squares. Then brush some mod podge on the tile to "glue" the paper on. Place the paper on the tile and carefully smooth it out with the brush. Make sure there are no air bubbles in the middle. You might also need to hold down the corners and edges for a few seconds so that they do not pop up.

Then use the foam brush again to cover the entire top of the tile with the Mod Podge. This helps to seal and protect it. Let it dry completely. Maybe a half a day or less.
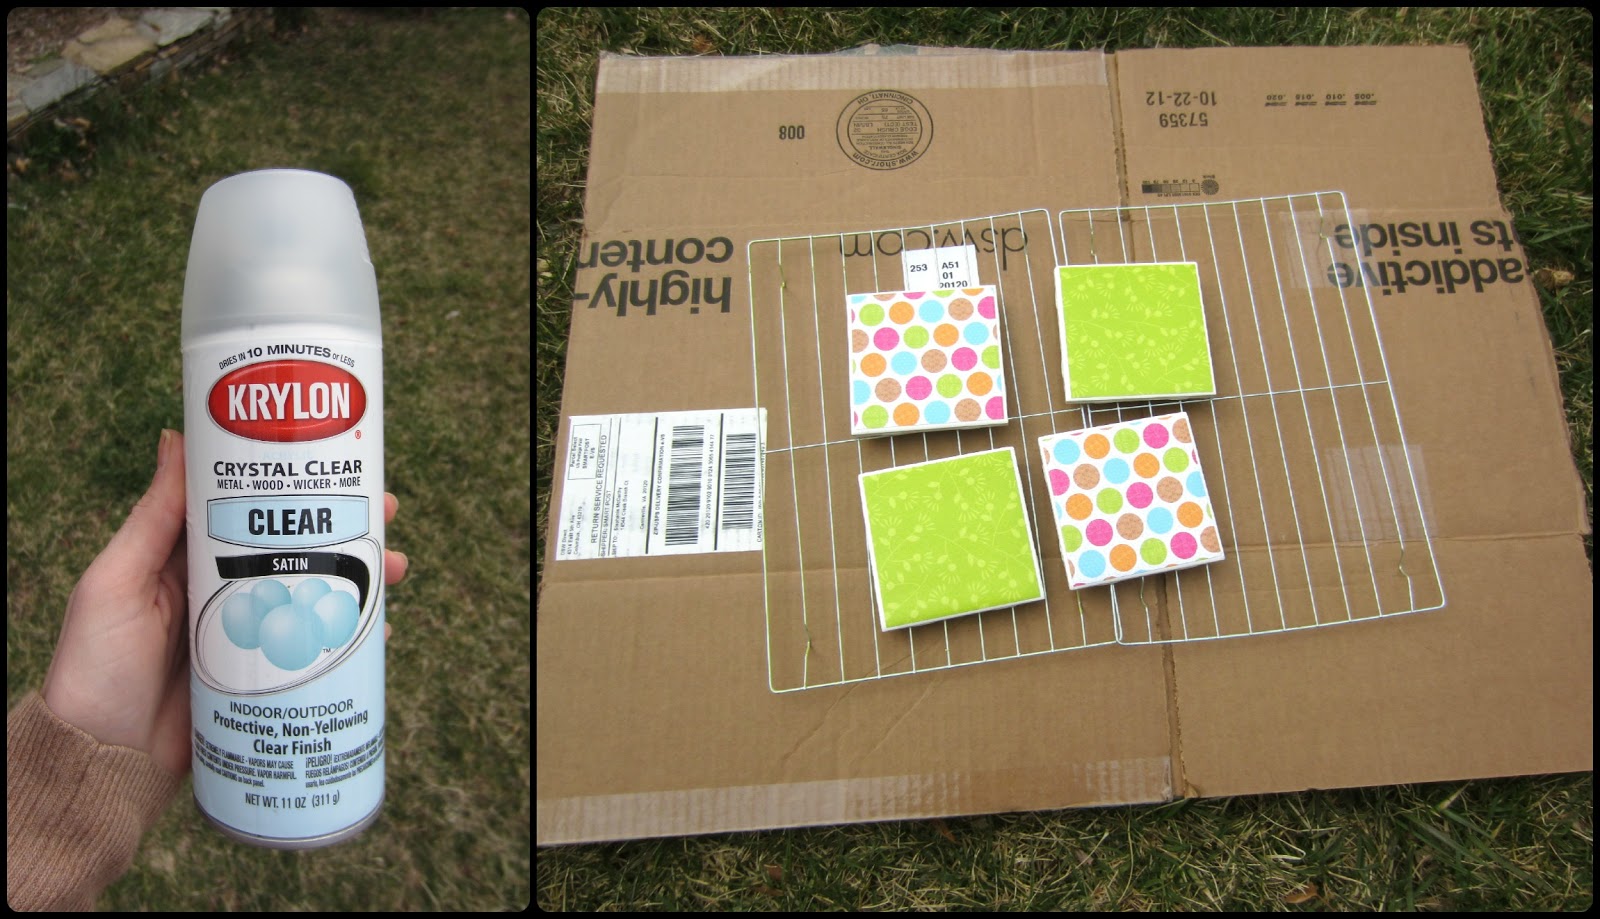
Once it is dry, take the tiles outside to spray with a clear sealer. This helps to make it water resistant. I placed mine on a cooling rack on top of cardboard to make sure that the grass doesn't get stuck on the tile when it is sprayed.

Let these dry outside for about a half a day as well. Sometimes the spray has strong fumes, so you might need to keep it out longer (as long as it is a nice day out).
Once the sealer has dried out, the tiles are ready for the backing. The bottom of the tiles are a bit rough, so you'll want to put something on the bottom so they don't scratch your table. I cut 4 X 4 inch pieces of crock from cork sheets that I purchased at Michael's a while back. You could also use felt or some other soft, yet firm material.

I just used tacky glue, spread it all around the back, placed the cork on and let it dry. Once the cork is on and the glue is dried, they are ready to be used !


I'd like to make a quick post about some coasters that I made. This is a fairly popular project around the internet and it is easy to do. Last year I made a bunch of these as Christmas gifts but now I'd like some for our house to use outside when we entertain.
Materials:
- Scrapbook paper with the design of your choice (I've also seen people use pictures, maps, or pretty cloth)
- White 4.25 X 4.25 inch tiles (got mine at Lowe's)
- A foam painting brush
- Mod Podge
- Sealing spray
- Cork
- Tacky glue
Cut your scrapbook paper into 4 X 4 inch squares. Then brush some mod podge on the tile to "glue" the paper on. Place the paper on the tile and carefully smooth it out with the brush. Make sure there are no air bubbles in the middle. You might also need to hold down the corners and edges for a few seconds so that they do not pop up.

Then use the foam brush again to cover the entire top of the tile with the Mod Podge. This helps to seal and protect it. Let it dry completely. Maybe a half a day or less.
Once it is dry, take the tiles outside to spray with a clear sealer. This helps to make it water resistant. I placed mine on a cooling rack on top of cardboard to make sure that the grass doesn't get stuck on the tile when it is sprayed.
Let these dry outside for about a half a day as well. Sometimes the spray has strong fumes, so you might need to keep it out longer (as long as it is a nice day out).

I just used tacky glue, spread it all around the back, placed the cork on and let it dry. Once the cork is on and the glue is dried, they are ready to be used !

Now we just need some warm weather and friends to pop over for some fresh drinks.
If you're making them as gifts, stack them up once they are dry and tie them together with a pretty ribbon:

How are you getting ready for warm weather?
Now you Can Do It Yourself Too !
~Stephanie
I actually made these as Christmas gifts, except I used paper napkins. They are pretty easy to do.
ReplyDeleteNeat idea ! There are some pretty napkins out there and basically any fabric will work.
Delete